Building a macro pad
16 August 2023
Why a macro pad?
My first blog post will be about something that isn't software engineering. Over the last couple of years, I've become quite interested in keyboards and specifically mechanical keyboards. It's a device I use daily, not just for writing code but also for communicating with others. When I'm thinking about flow and how efficient I am with my work, the devices which I use to interact with the computer can be either a hindrance or a drag on my productivity.
I’m not saying that having a great keyboard makes me a 10x developer. Certainly not. When I'm writing anything, if something is causing a lag between what I am thinking and how quickly and accurately I can get it into the computer, it’s going to cause a distraction. Using a keyboard that feels nice to use and has a familiar layout has become a top priority for me, so I started to look into the community around mechanical keyboards.
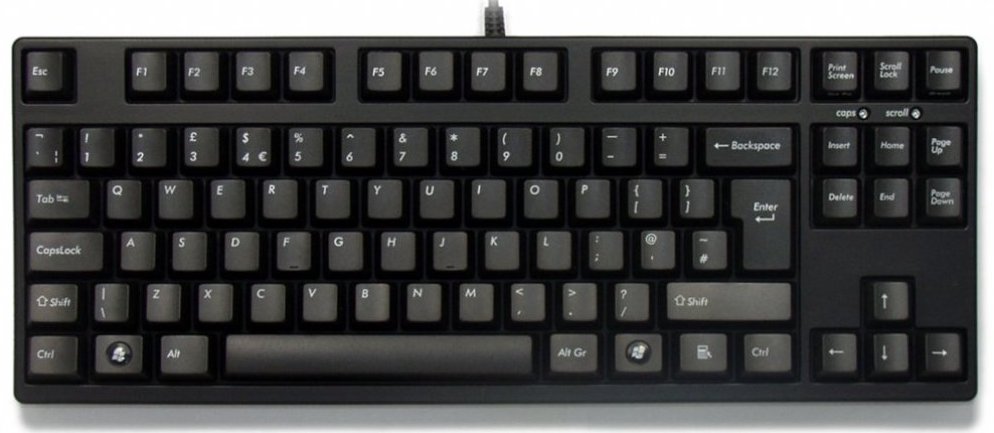
At first, I was extremely surprised by the variety of types of keyboards and layouts available, ranging from keyboards with extra programmable sections to ones that are 40% of the traditional keyboard keys to ones that are split into two and have shapes designed around your hand. They all look very interesting, and I am still looking into what else I can try out, but for now I'm quite happy with the type of keyboard I work with mostly, which is TKL (tenkeyless) layout. This means I don't have the number keys on the right but instead, my mouse can be closer and is a smaller reach over to my right. Mine is a Filco Majestouch Convertible 2 and I love how solid and reliable it has been.
However, my first experience after university was in electronic engineering and whilst I haven't done anything in that type of role for a very long time, the idea of building something from the ground up as a side project piqued my interest. To start myself off on that journey, I decided to try and make myself a hand-wired macro pad.
The build
After doing some research, I found an open-source project on GitHub called VOID9, where the author of the project also had a tutorial on how to build it. Given that I hadn't done anything of this nature for a long time, and I liked the idea of getting around to finishing this project, that sounded like the perfect start. The other reason I chose this project was that the controller used in it is compatible with an open-source keyboard firmware project called QMK. This meant I could get the project up and running and functional without having to brush off my C skills, yet! That is something I can do later. 🙂
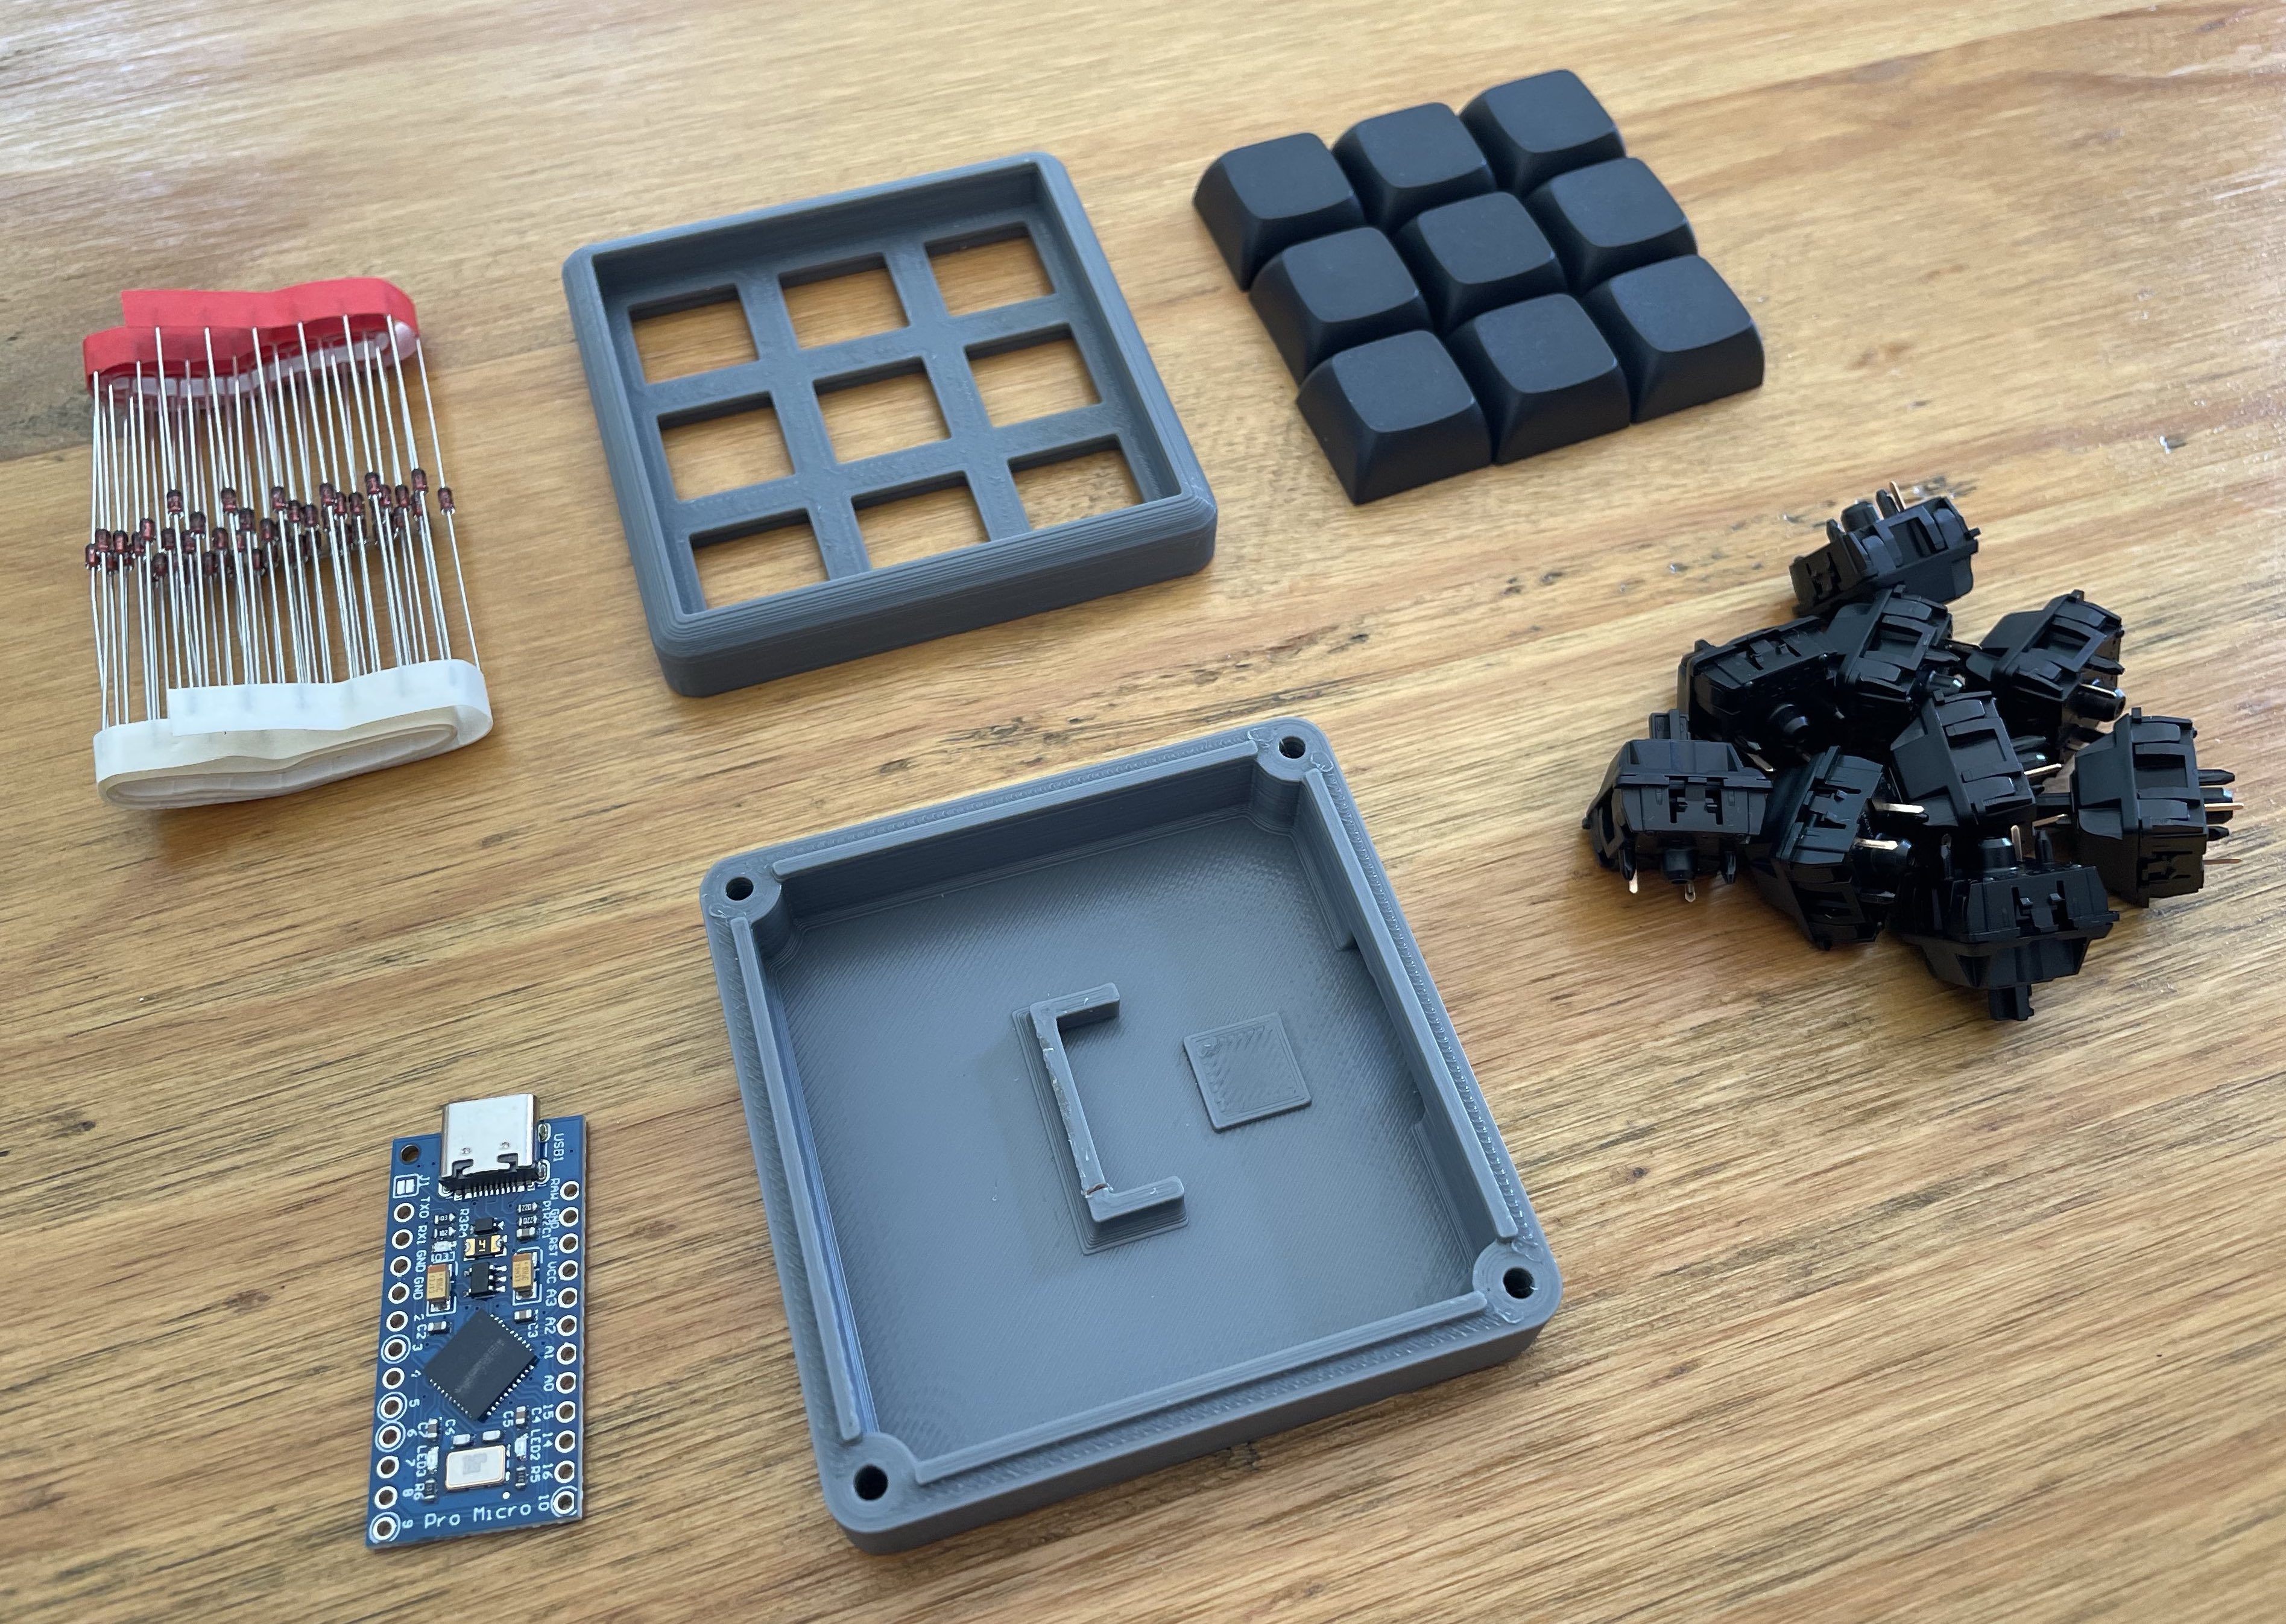
The first thing I did was to get the provided designs for the case printed however, I don't have a 3D printer at home, so I used a 3D printing service that delivered it to my house. I then went about ordering the remainder of the parts: switches, keycaps, diodes and a controller board (pro micro).
Modifying the case
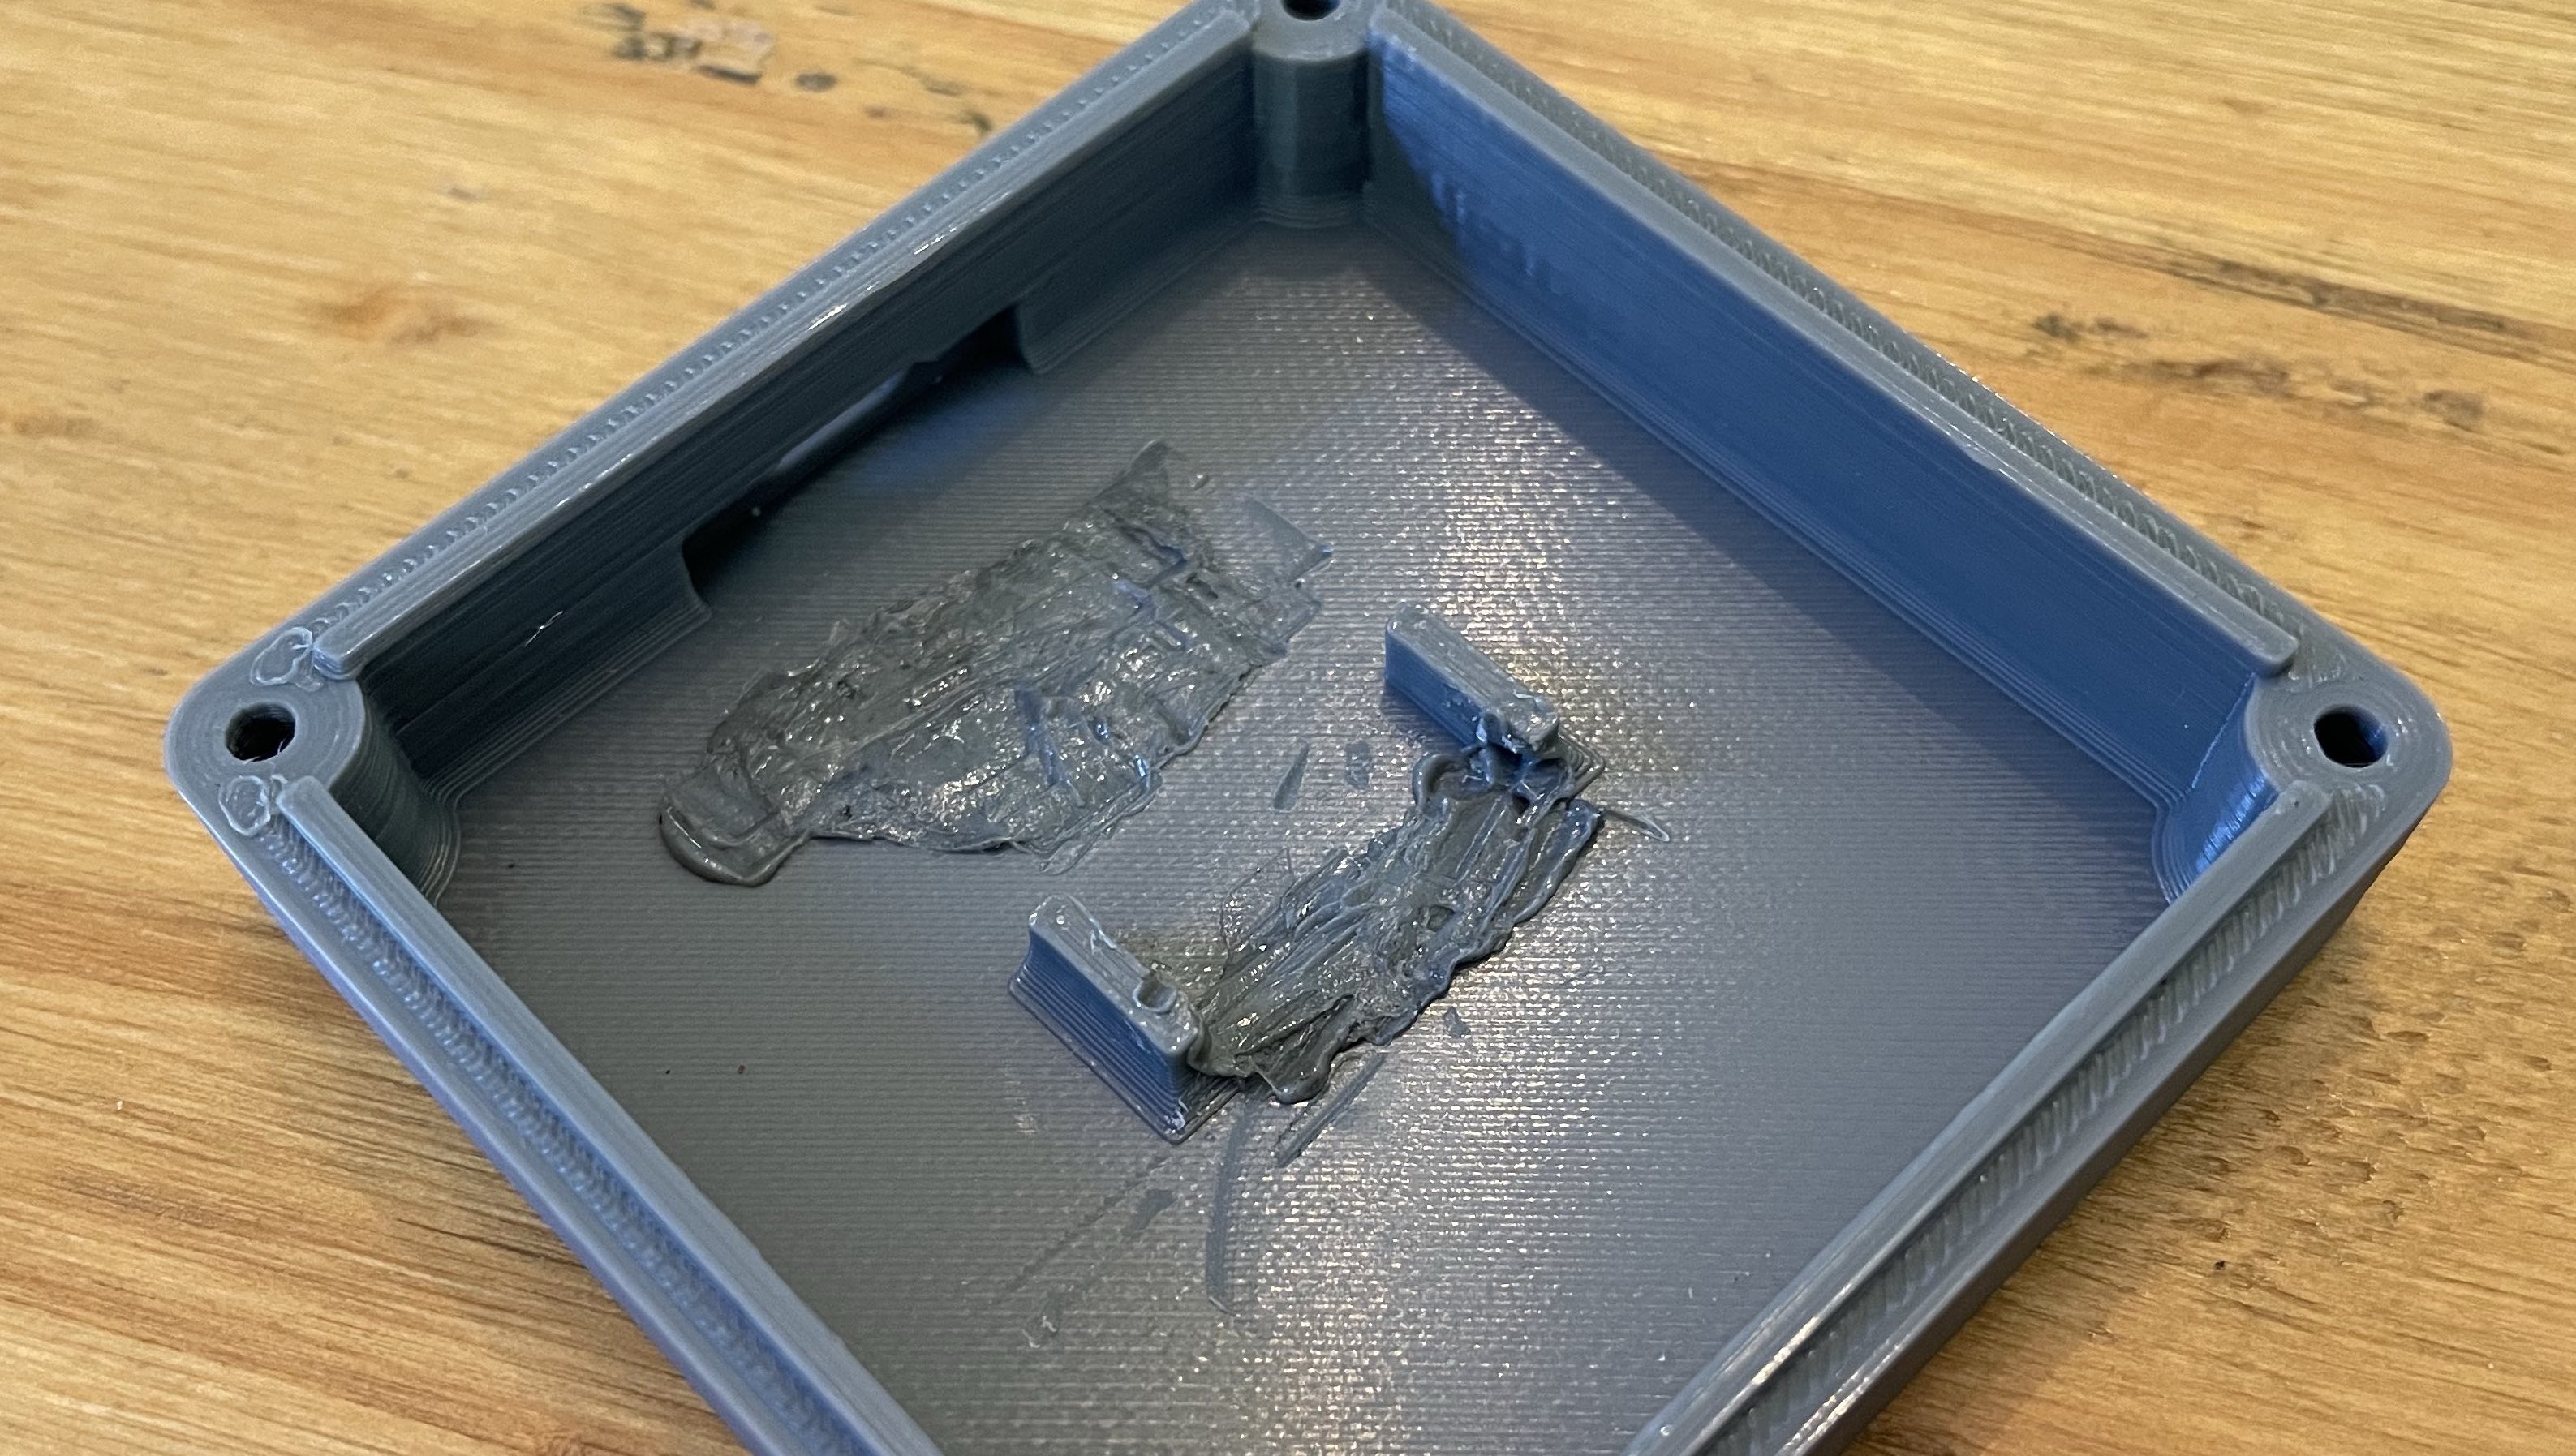
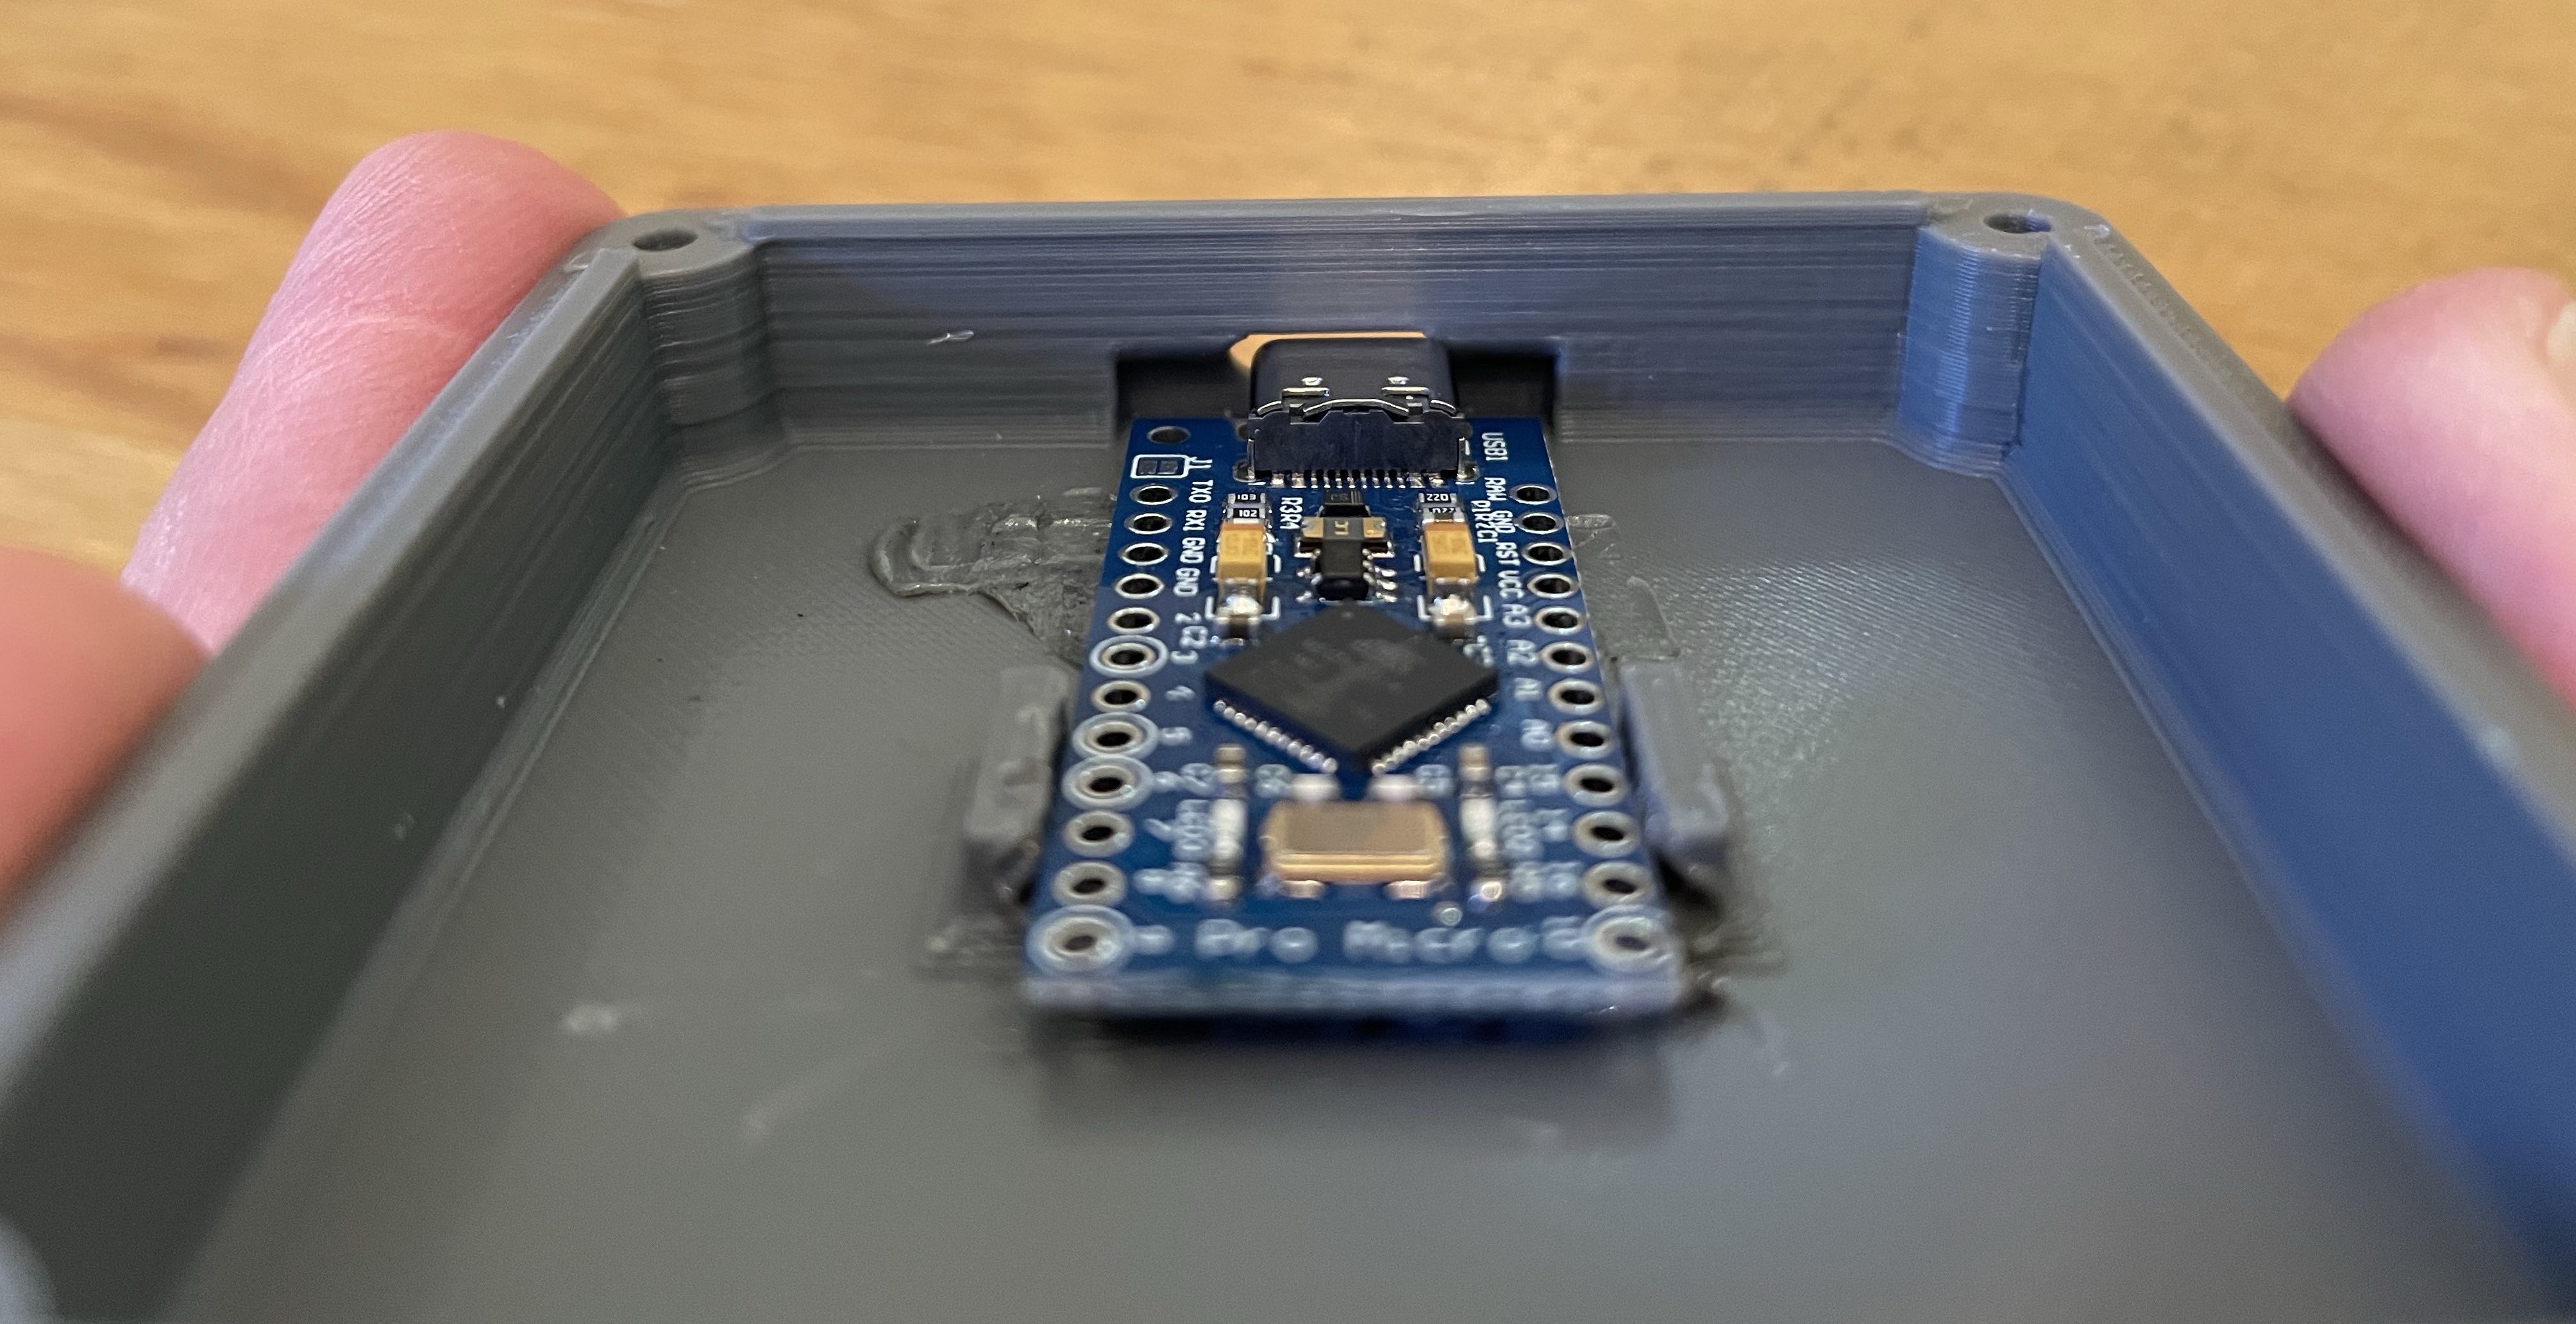
One thing that I hadn't paid attention to in the provided 3D designs was that there are two variants of the pro-micro, and the one I had purchased is longer than the space provided. Lesson learned. I had to modify the case to make this controller board fit. I didn’t have a Dremel drill to help resolve the issue, so I had to resort to using a flat-head solder bit to melt the plastic out of the way. It’s horrible to look at, but it fits now. I’ll put that at the bottom of the tech debt list! 🙂
One thing that became very apparent whilst doing the hand wiring was that soldering is a skill that you have to practise from time to time to maintain your skills. I'd certainly say that some of my solder joints aren't the prettiest I need a bit more practice, so please don’t judge me on my terrible soldering!
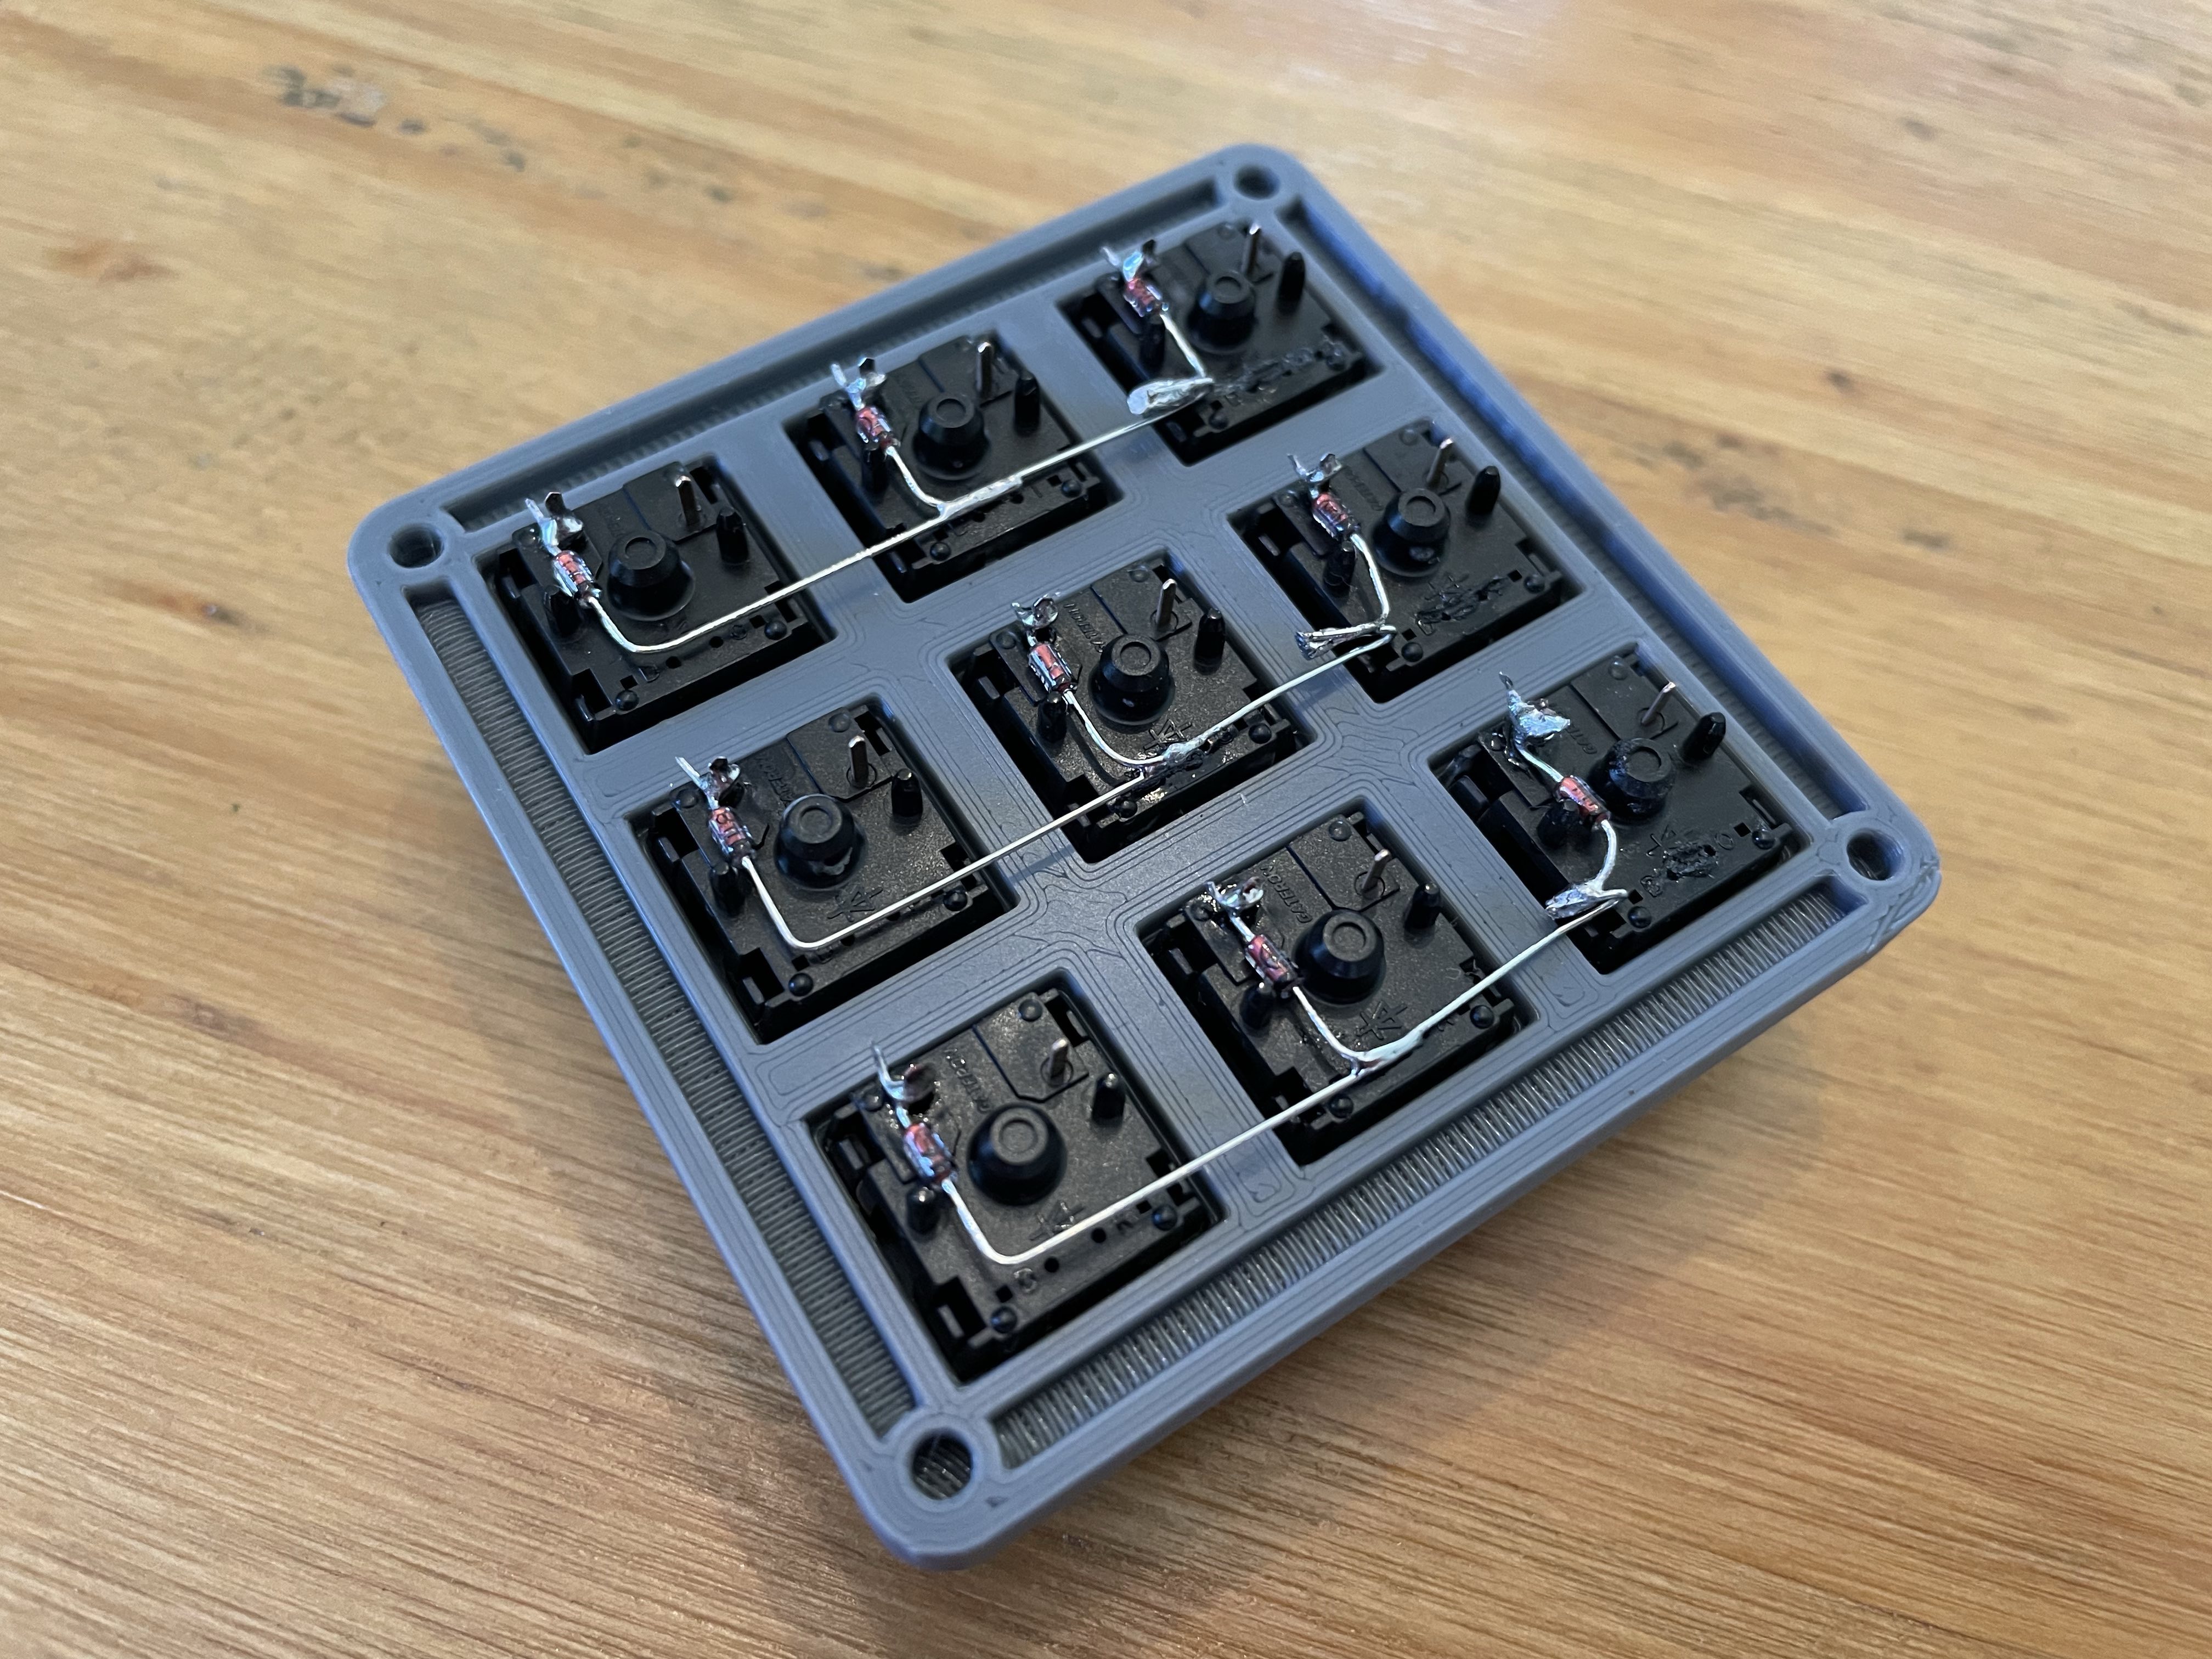
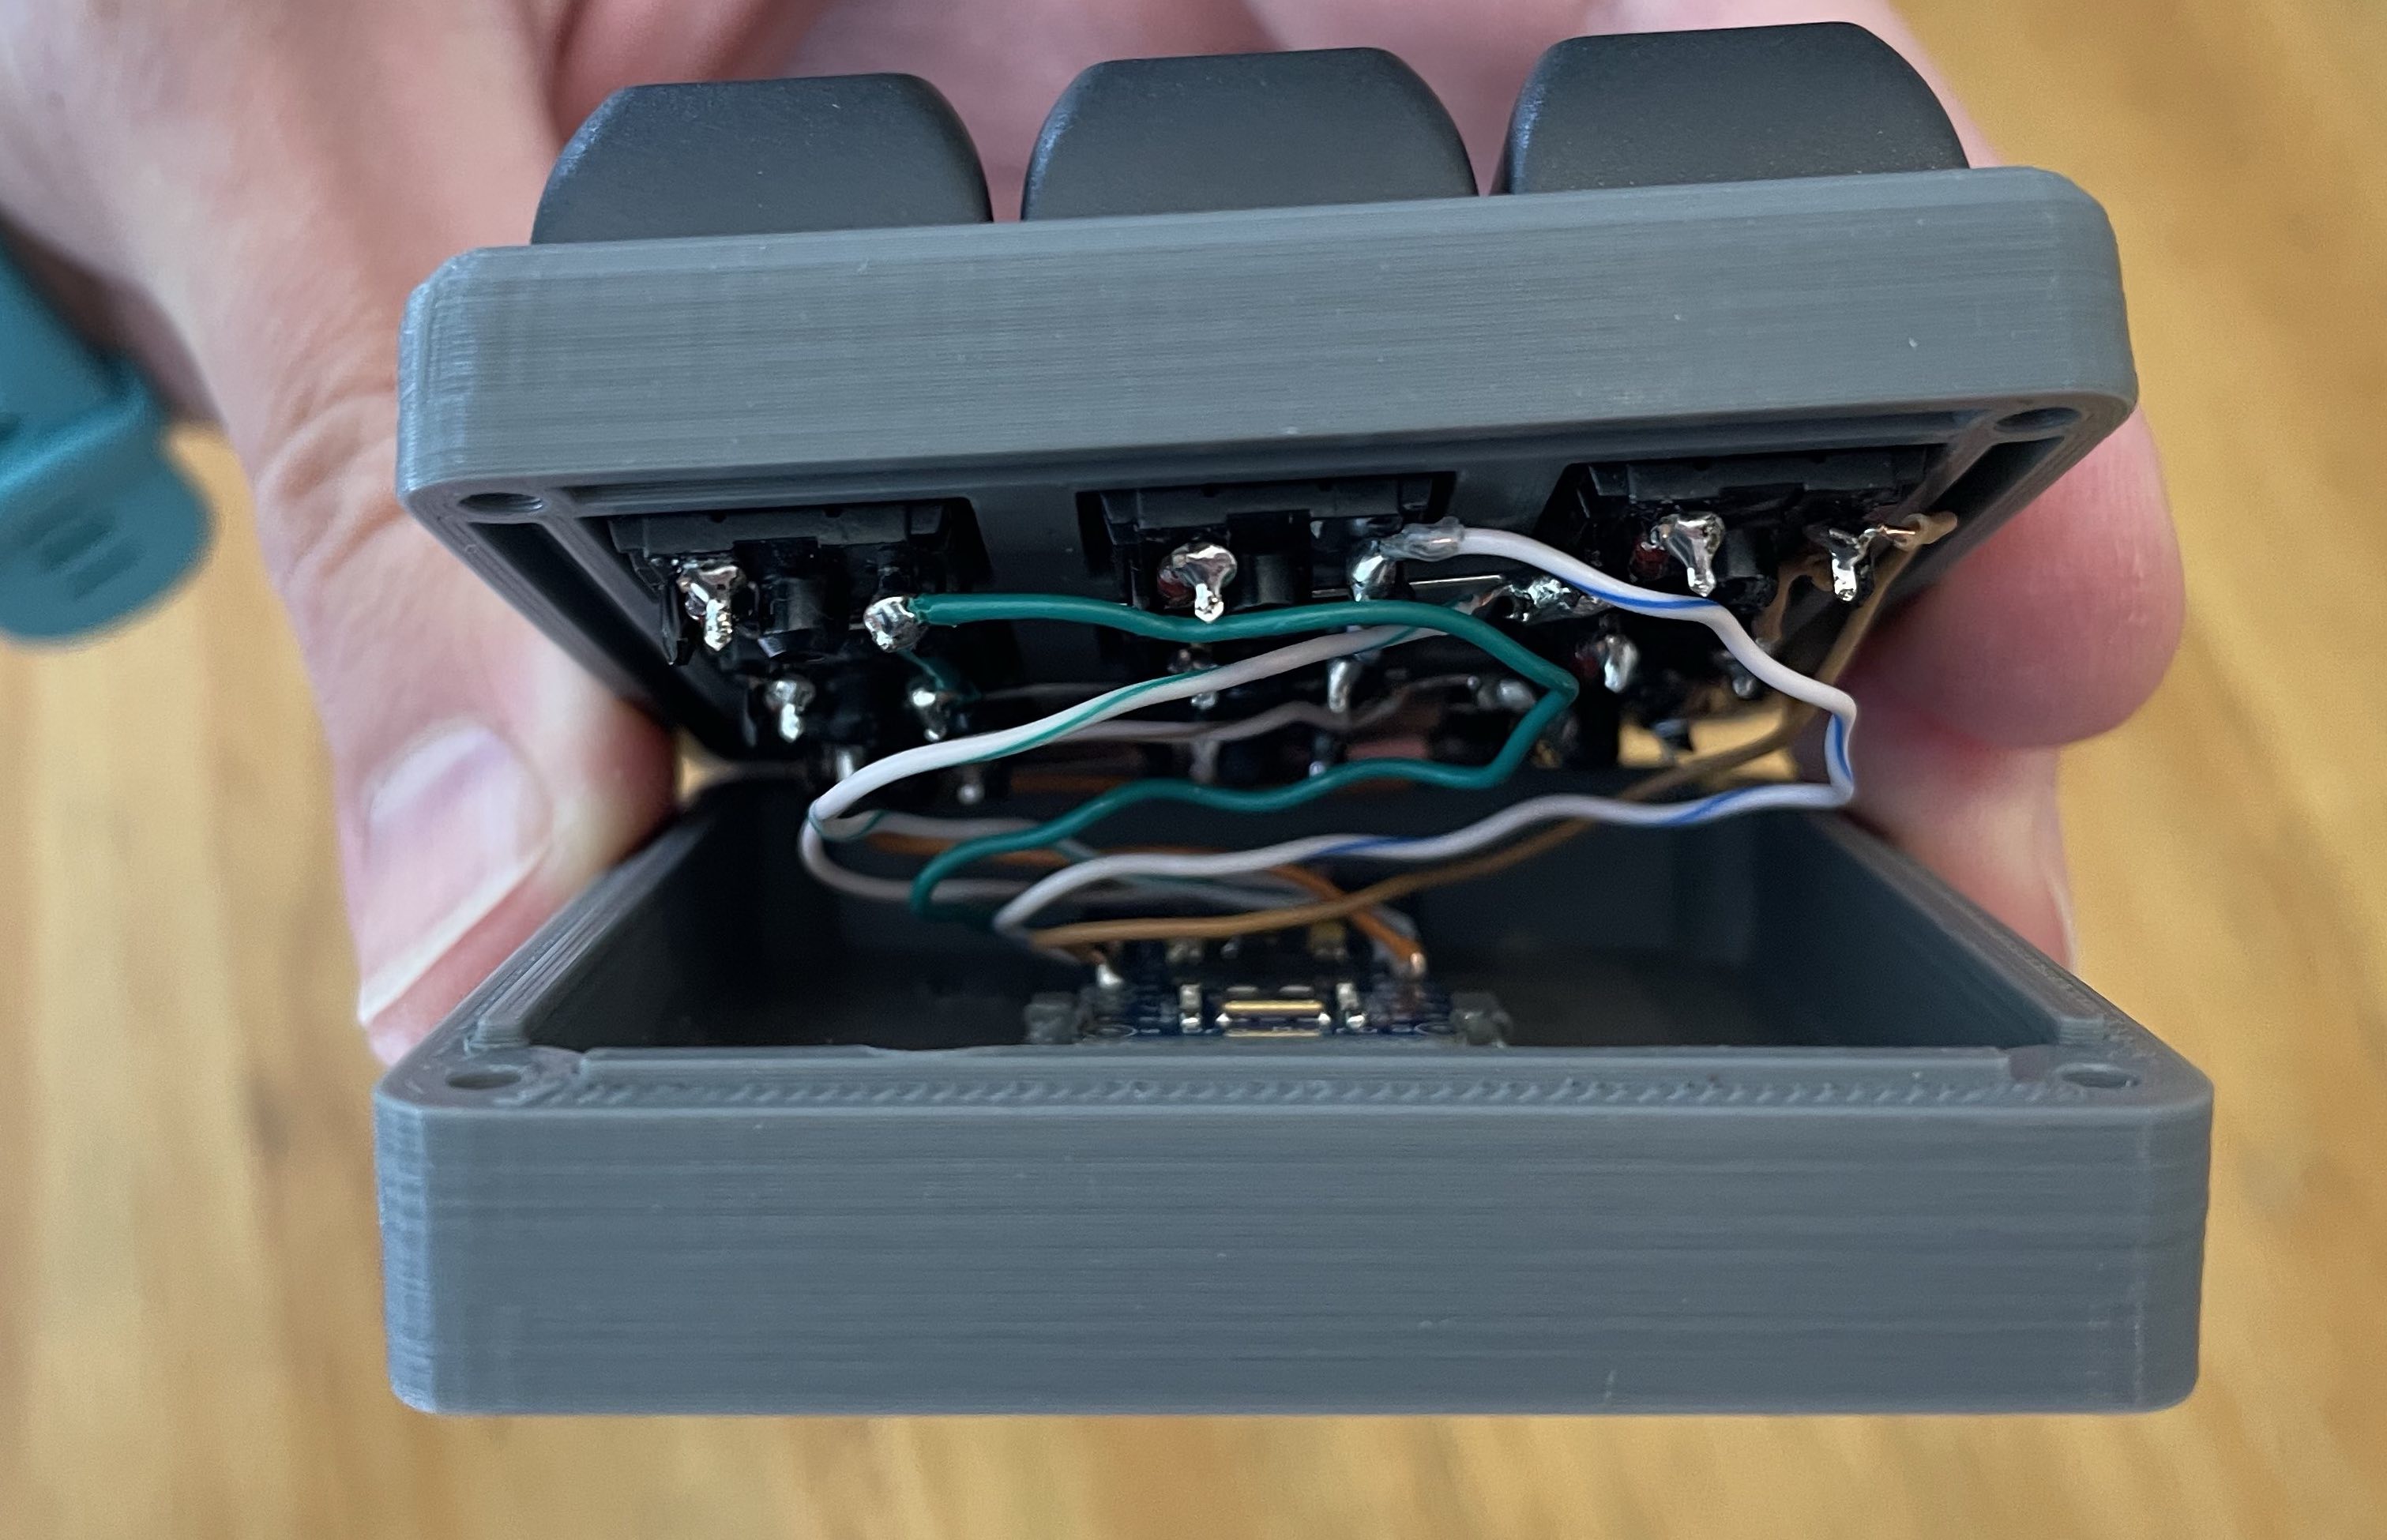
The outcome
Either way, I managed to get the device together and connected it to the USB port, flashed it with some firmware, and it's now a functioning macro pad. 😀 As I used one of the provided hex files from the VOID9 project, the keys currently just print out the numbers 1 to 9. My next intention is to create a custom version of the firmware with some specific macros that are things I often type at work.

Whilst there are other non-hardware ways of achieving this, like an alias or a macro in my terminal, for me, this little project is more about scratching an itch to build something physical and frame it in the context of something I do at work.
When I've updated the firmware to create specific macros, I'll do an update to show how I’m using it.